Tuesday, April 23, 2024
Log in
Contact us
Toggle navigation
Main menu
Home
News
Education
COVID19
Police & Crime
Announcements
Education
COVID19
Police & Crime
Announcements
Sports
Police and Crime
Obituaries
Church Directory
Lifestyle
Agriculture
Automotive
Books
Business
Entertainment
Health
Lifestyle
Outdoors
Real estate
Spanish
Tech
Trivia, History & Games
Pets
Seniors
Home
Money Matters
Kids & Family
Green Living & the Environment
Gardening
Travel
Education & Careers
Agriculture
Automotive
Books
Business
Entertainment
Health
Lifestyle
Outdoors
Real estate
Spanish
Tech
Trivia, History & Games
Pets
Seniors
Home
Money Matters
Kids & Family
Green Living & the Environment
Gardening
Travel
Education & Careers
Submit
Letters to the Editor
Submit News
Anniversary Announcement
Birth Announcement
Engagement Announcement
Wedding Announcement
Change of Address
Delivery Issue
Vacation Stop
Letters to the Editor
Submit News
Anniversary Announcement
Birth Announcement
Engagement Announcement
Wedding Announcement
Change of Address
Delivery Issue
Vacation Stop
Contact us
Log in
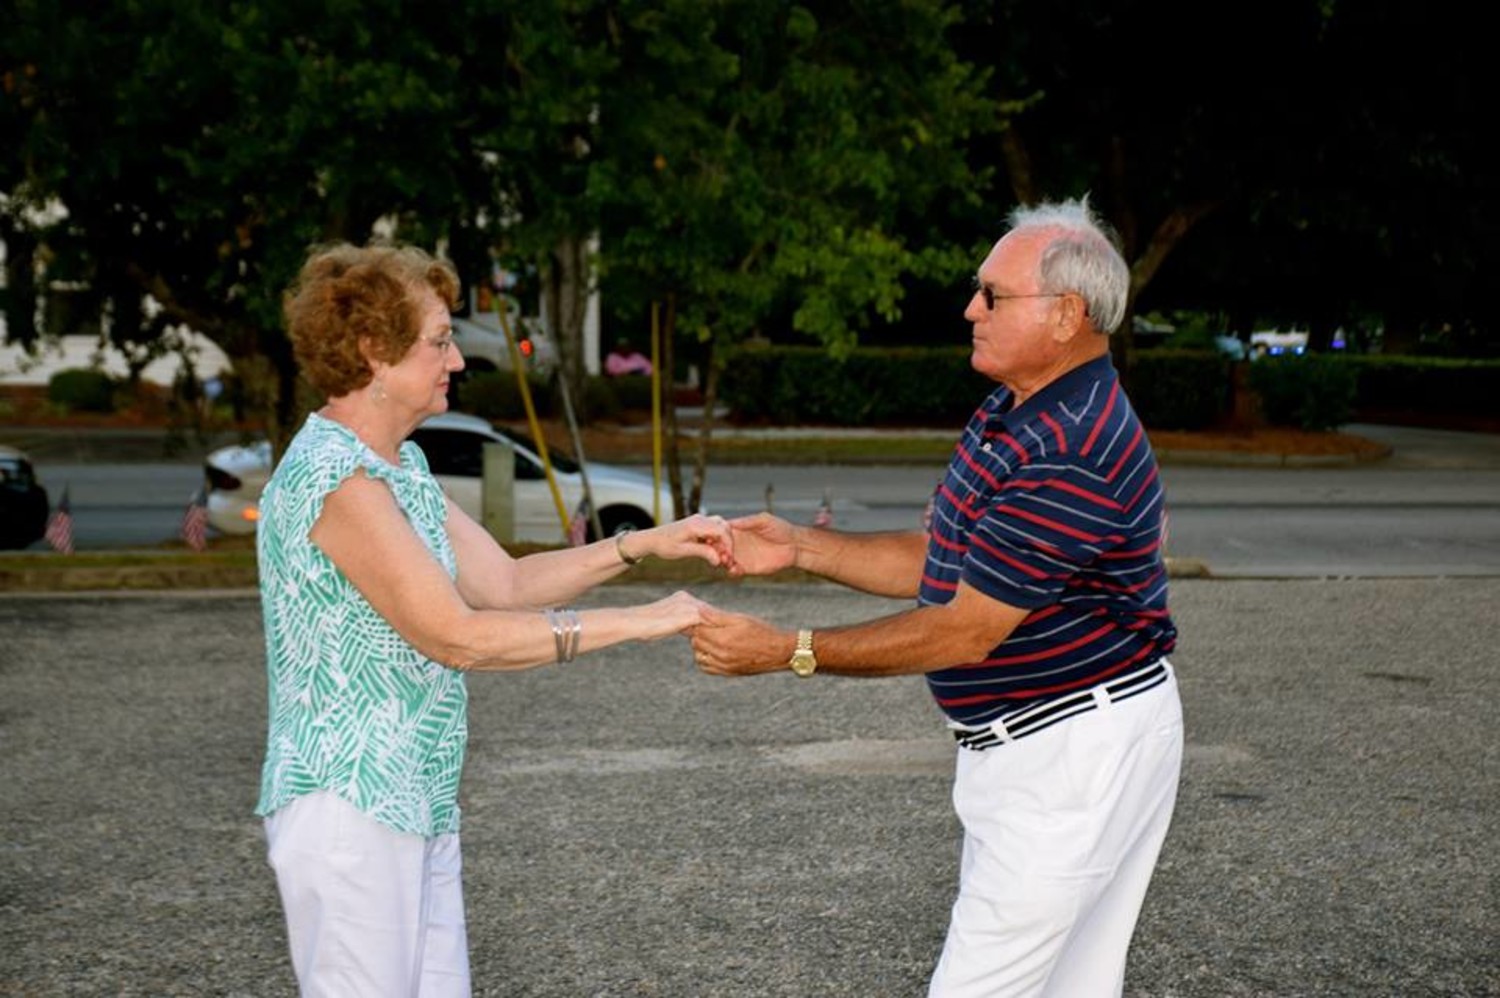
Gallery: Red, White and Blue 3
Posted
Wednesday,
July 6, 2016
2:52 am
Submitted via Facebook
(Photos provided by Julia Nelson)